Set the chatbot name and reply timing
Give customers a recognizable assistant and combine short messages into a more useful reply.
Before you start: Have access to your inbox’s Chatbot Configuration.
Enable replies
Open Settings → Inboxes → your inbox → Chatbot Configuration.
Enter a customer-friendly Chatbot Name, such as Luma Salon Assistant.
Turn on Enable Chatbot.
The first control enables replies. Advanced Mode opens AI Studio. Message Delay helps group messages sent close together.
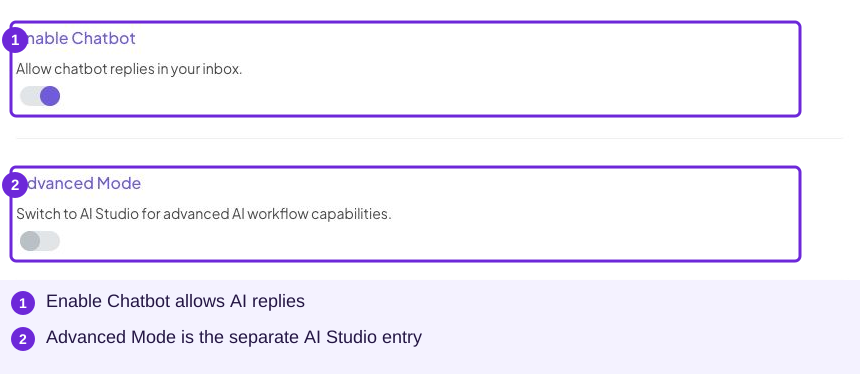
Enable Chatbot turns replies on. Advanced Mode is the separate AI Studio entry point.
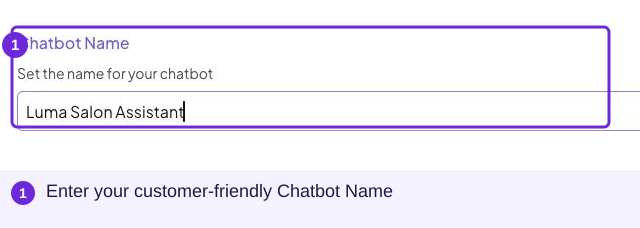
Enter the assistant name in Chatbot Name. Luma Salon Assistant is a draft example; save your own changes with Update.
Choose a message delay
Turn on Enable Chatbot Message Delay if customers tend to split questions across messages.
Set Delay (seconds). The supported range is 1–30 seconds.
Try 5 seconds as a starting point, then select Update.
Send “Hi”, followed quickly by “How much is the consultation?”
Check whether the reply addresses the combined question and feels fast enough.
Shorten the delay if replies feel slow. Increase it if the chatbot answers before customers finish typing. Choose the setting from your own customer conversations.
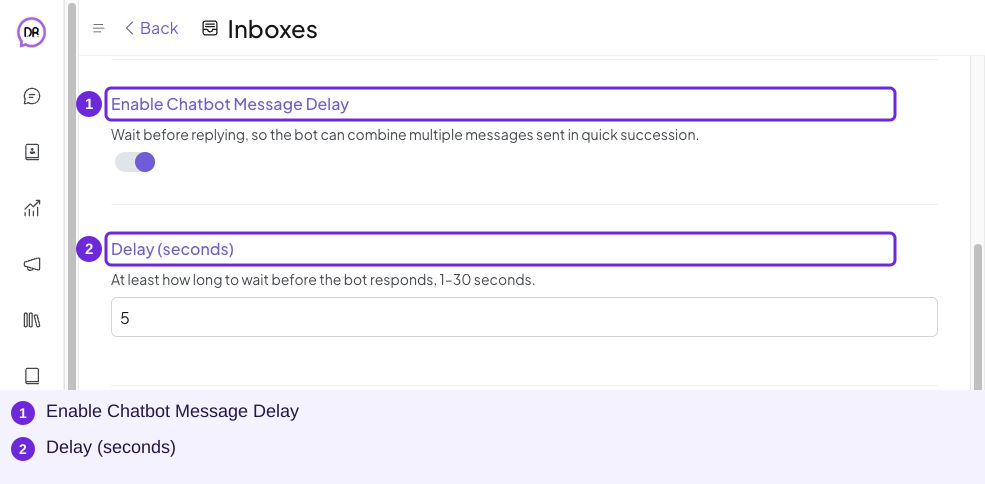
The delay field appears after enabling its switch. This 5-second value is shown before saving.
Keep advanced features separate
Leave Advanced Mode off while learning the basic FAQ workflow. AI Studio is for building more advanced workflows. Appointment and Condo Management settings support separate business tasks.
Try it
Enable Chatbot Message Delay, then adjust Delay (seconds) and test the reply timing.
You are ready when
- Customers see the intended assistant name.
- My reply timing works for a short message sequence.